DIY Dishtowels

I desperately needed new dishtowels. I bought some flour sack towels five years ago, before I started sewing, and recently most of them have been retired. So, after the shock of opening the cupboard and finding two pitiful towels waiting to be used (after restocking via a fresh load of laundry) it was time.

I set out to make myself as many new dishtowels as I could in one afternoon. It turned out so well! I made two different styles: a bias bound edge and a mitered corner hem. I used old linens that were stored in my fabric stash. All of these linens were sourced secondhand from thrift stores or clothing swaps. They are all 100% natural fibers (this is key as polyester fiber is terrible at absorbing water).

I found the tutorials for the different edges on pinterest! Both tutorials were very clear and helpful and much better than I could do myself. That’s why I’m linking them here:

Mitered Corner Hem Dishtowel

Bias Bound Dishtowel

I did not follow these tutorials exactly. Rather, I used my 18×24″ cutting mat as a guide by placing it on top of the fabric and roughly cutting around the entire perimeter. Some dishtowels I cut out of an old tablecloth with a boarder. I just kept the hemmed boarder as a part of the towel and finished the cut edges. I found that the bias bound dishtowels took more time to make than the mitered corner hems. However, I made my own bias binding which considerably increased the time to make one towel. If one were using purchased double fold bias binding, I imagine the process would be much faster.

I am very happy with these towels. They fit in well with our kitchen scheme – and the pops of orange are a nice touch!

70’s Beach Cover Up (Vintage McCalls 6091)

On a recent secondhand fabric + pattern score at The Create Exchange in Cedar Rapids, Iowa in May, I found this dreamy cotton gauze and vintage McCalls pattern (among other amazing things).

SO, I made a dress.

I had about 1 yard of fabric, and the pattern calls for 3 yards… But the lines are simple and the pieces are all cut on the straight grain of the fabric, so I thought I could eek out this dress with some creative cutting. And creative cutting there was… I was able to manage the two body pieces, but I had to divide the ruffle into four sections (rather than two). I also used leftover squares to make my bias tape, instead of cutting long sections from the original cut of fabric. Using continuous bias tape tutorials, I was able to make plenty of bias tape from two 8″x 8″ squares of scraps. Note to self: this is a huge fabric saver.

The sewing process was relatively straightforward… I stitched the pieces together, made it work, finished the seams.

img_5016-1

I did find that this pattern had much more ease than I was expecting. The pattern illustration shows a dress with a relatively fitted bust, and my first try on revealed about 6-8 inches of positive ease. I decided to take about 3 inches off each side seam at the bust, slowly angling the seam to meet the original side seam. I was a bit irked that I wasn’t able to identify the final bust measurement (especially consider how much it differs from the pattern illustration). Overall, the lack of finished measurements on the pattern envelope meant I used more fabric than needed… and I could have had a much simpler cutting layout with less fabric waste if those finished measurements were provided. The next time I use this pattern, I will remind myself to reduce the side seams by 3 inches (let this serve post as that reminder).

With reduced width at the bust, I love this dress. I absolutely love the style, the ruffle at the bottom, the bias tape tie straps, I love it all. I can see myself making this as a summer cami, and as a maxi dress. This white gauze is a bit transparent. I’ve decided this dress will do best as a beach cover-up. I can make it work solo, but only if I wear a slip (which creates a double strap situation that I’m not too fond of).

Cheers to new summer dresses from secondhand fabrics!

Reclaimed yarn vs. secondhand yarn vs. recycled yarn: what’s the difference?

083243ca-282b-4987-bc07-bc9674d0a98b-1I’m just about to cast on my next sweater project. I’m using reclaimed yarn and secondhand yarn. I previously used these words interchangeably, but now, each has taken on distinct meaning. So I’m setting out to clarify the difference between reclaimed yarn, secondhand yarn, and recycled yarn.

Reclaimed yarn: yarn which is harvested through unraveling a previously knit item. This yarn can come from either a hand knit or machine knit item. It usually goes through a washing process to reset the fibers.

Secondhand yarn: unused yarn acquired from secondhand sources. Buying someone else’s stash yarn, finding unused yarn at a creative reuse shop, or skeins found at a thrift store. Can be acquired in whole or partial skeins, cones, balls, or cakes.

Recycled yarn: yarn from a manufacturer that includes recycled content. This yarn has been respun from previously used fibers. This yarn is then purchased in new form, with a yarn label that includes “recycled” listed in the contents. Often fiber blends of wool, cashmere, silk, nylon, and cotton.

As the world of secondhand fibers continues to grow, I think it’s important we develop specialized terms to clarify unique materials and approaches. So, what do you think? Do you agree with these definitions? What else would you add?

Saturday Project Bags

50ae885f-ea40-4ee6-a496-48bd147f4831

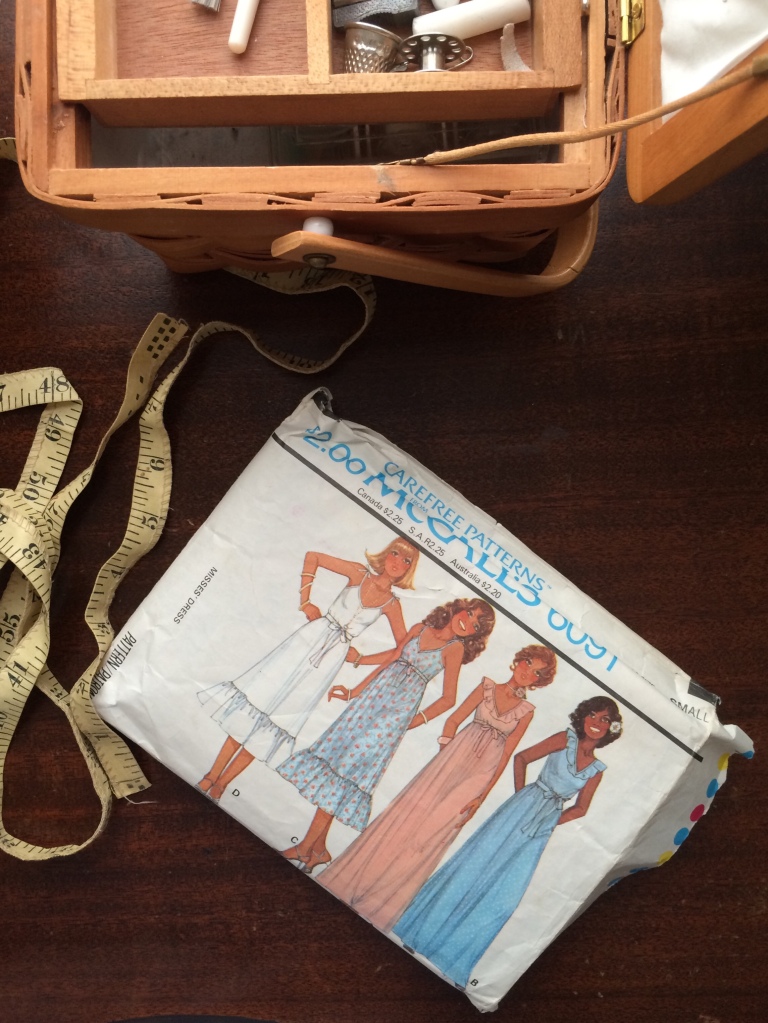
I finally had a sewing day – after a year and a half I finally had a full day to sew whatever I wanted. I woke up with high hopes, I wanted to make a muslin for my first pair of persephone pants. I bought the pattern last spring, and had absolutely no time to make them with all the moves, but this Saturday was the day I could start.

083243ca-282b-4987-bc07-bc9674d0a98b

And then… we had no printer paper, so I couldn’t print out the pattern. So I thought I could drop by the store to pick up some paper and a glue stick, but then I remembered I didn’t have a car! My husband was off working a climbing competition all day (which was the reason I could have the whole day to sew in the first place). So, car-less and paper-less, I abandoned my plans to start on my beloved pants.

d7ed5395-c6ec-49d4-916a-c07cd18a4ca4

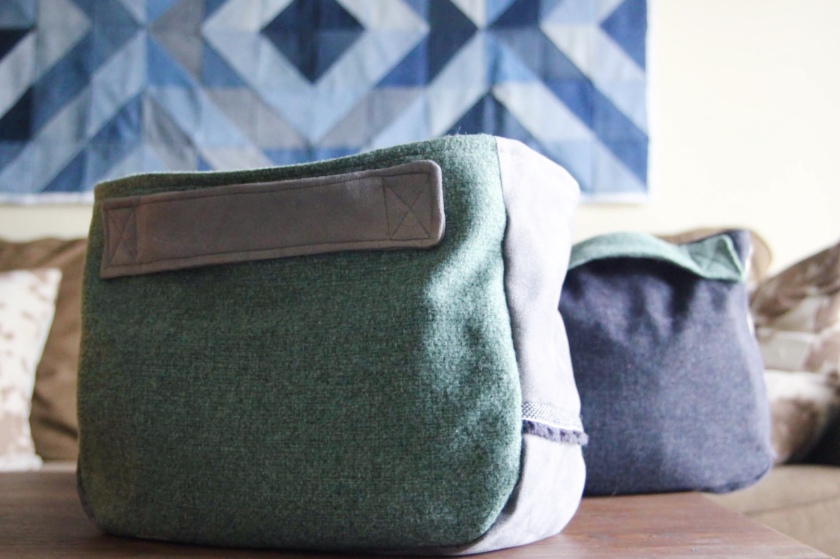
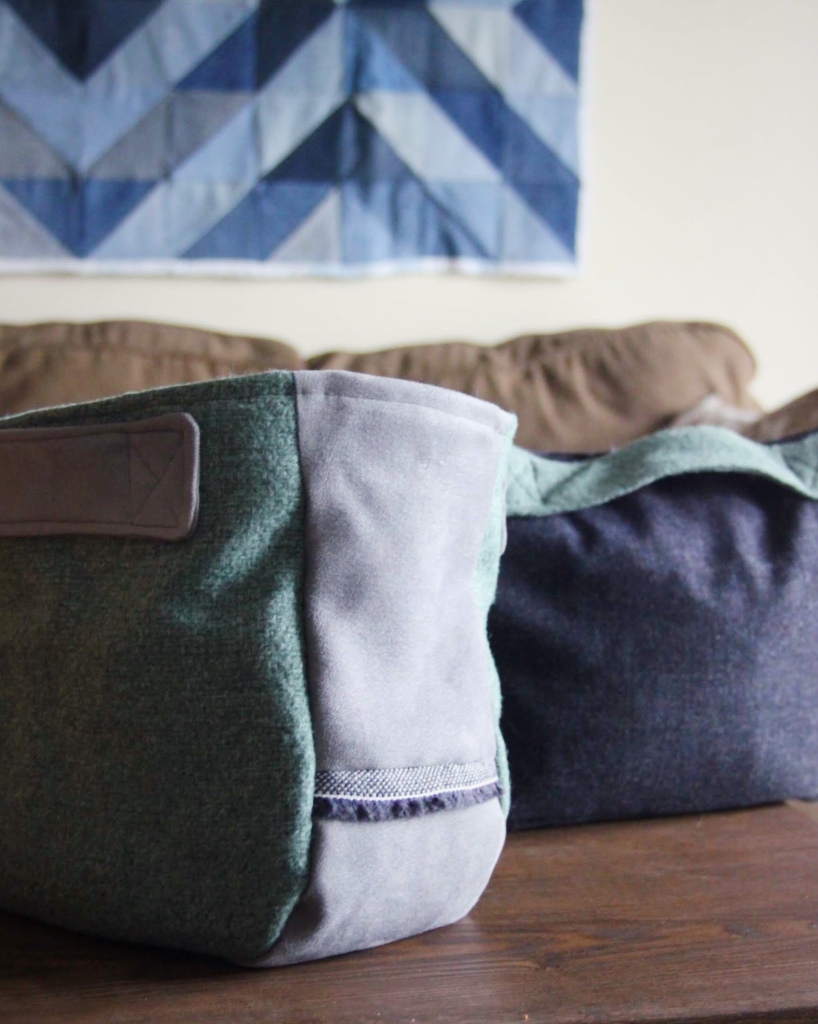
Thankfully, I had a back up project – the Japanese Style Linen Tote project bag from Makine Zine no. 6 Black and White. Usually I carry around my sweater projects in those larger reusable grocery bags (pressed plastic fabric, anyone?). These bags are functional, but they’re 100% ugly and rip easily. I wanted to house my beautiful knitting projects in something equally as beautiful – so these totes were a high priority. It’s almost like fate said “You don’t need new pants… you do need a project bag.” Thanks fate for setting my priorities straight.

img_4140

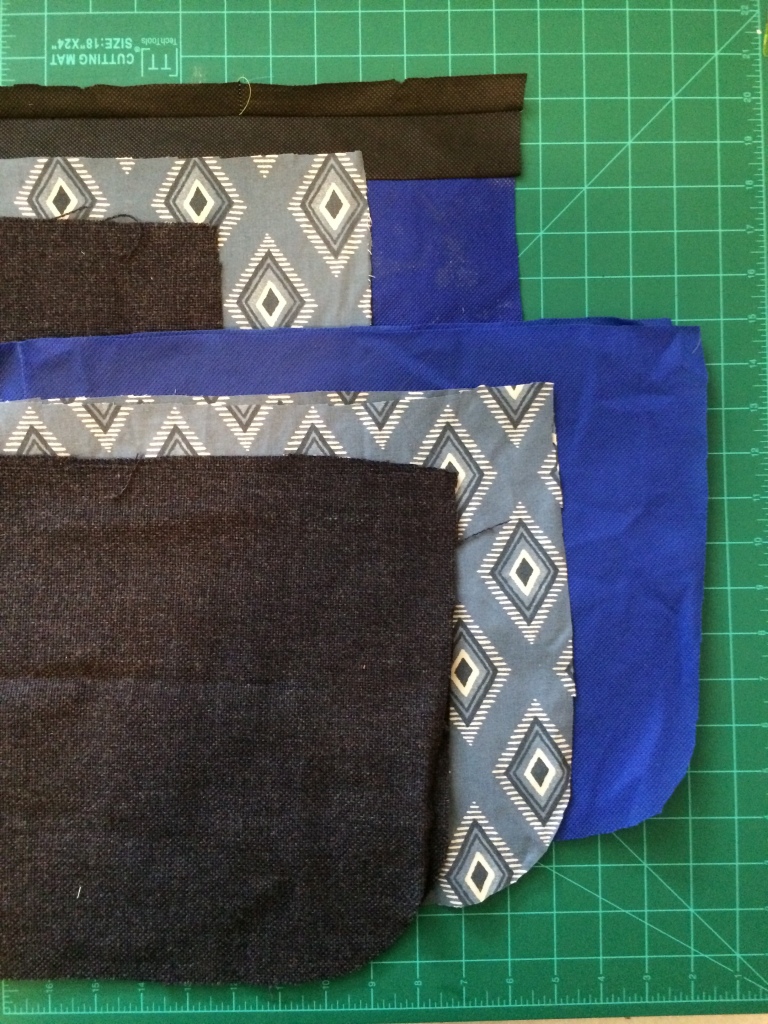
I found some beautiful larger pieces of upholstery wool at Nashville’s creative reuse shop called Turnip Greens. This place is packed with secondhand materials. They operate on a “pay what you think is fair” philosophy, So I bought two pieces of wool (and some other odds and ends) for $2 – which is the cash I had in my wallet.

img_4130

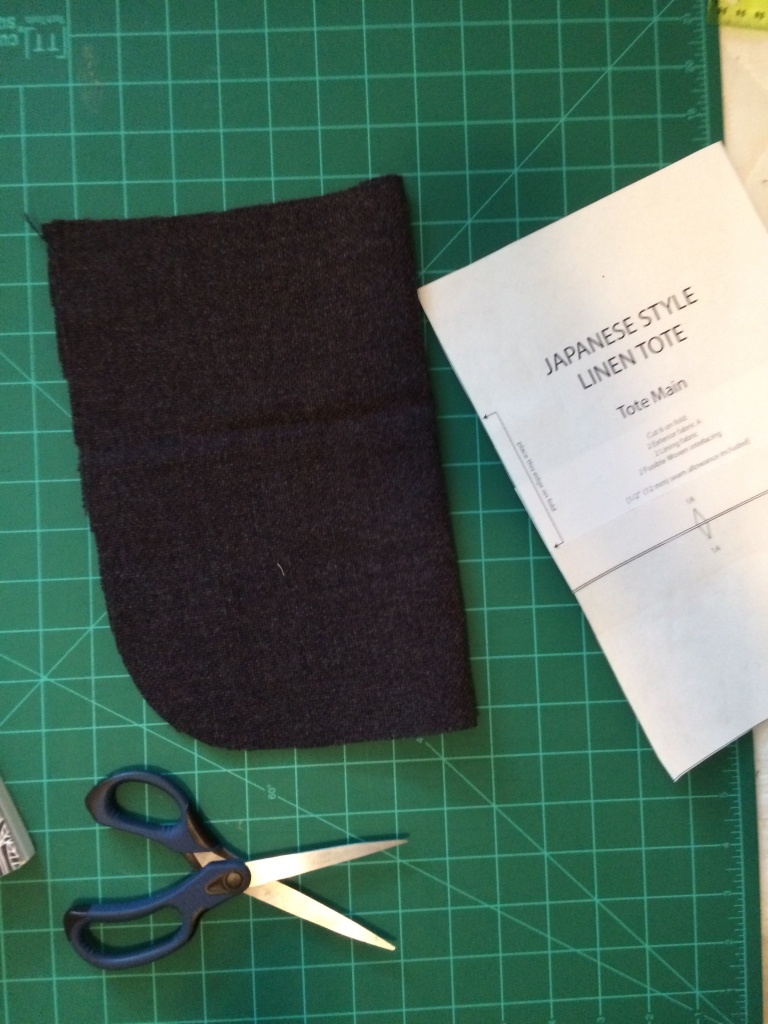
Just as I was ready to cut out my fabric, I realized I was missing something. My fabric scissors. I left them in St Louis in my sewing basket, which houses all my other sewing tools. All I had were old paper scissors. And a loop turner. No pins, no sharp scissors, no marking tools, no rotary cutter, no seam ripper (NO SEAM RIPPER).

img_4149

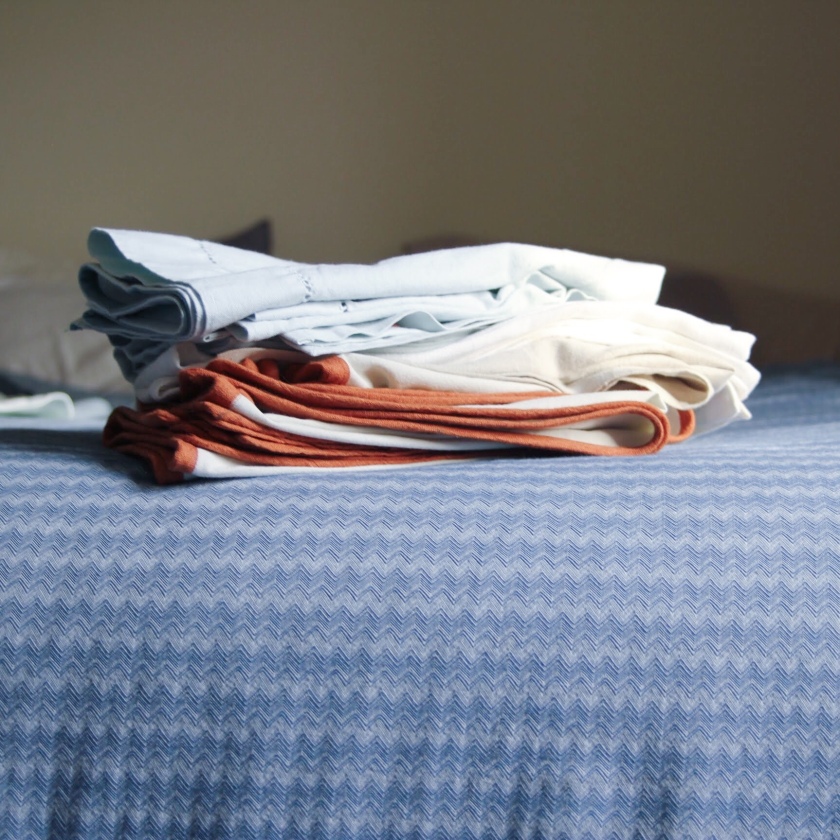
I was determined to finish at least one bag, so I set out with my baby paper scissors and cut out my pattern from my thick upholstery wool. I’m used to cutting corners – almost every sewing project is an exercise in “how can I not follow the pattern and just use what I have.” I was already doing a TON of improvising. First, I was using wool instead of linen for the main fabric. Second, I never use interfacing, so I sewed old reusable bags and old denim to the lining to stabilize the bag. Third, the handles call for webbing, but I used stabilized upholstery fabrics instead. So, adding my lack of tools to my already improvised day didn’t seem like quite a stretch. I managed, heck, I had fun! So much fun that I was able to make two bags.

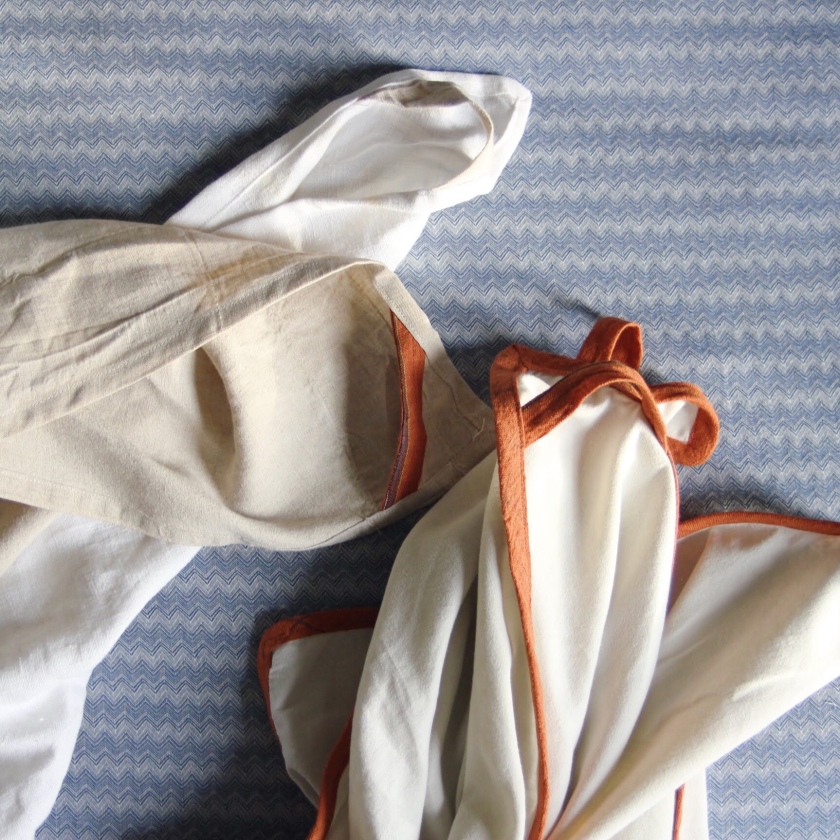
The pattern includes a beautiful bit of sashiko embroidery – but seeing as I had no hand sewing needles, I left the decorative patches off and kept my bags simple. On the second bag, I added a little selvage fringe to one of the seams. I love this little detail! I also love that these two bags are fraternal twins – made from the same materials but with totally different looks.

These bags are perfect; made from secondhand materials that cost me probably $4 total. I am always surprised that I can make beautiful things from discarded items. Even though I’ve been on this reclaimed craft journey for over two years now, it still surprises me that I can do it and that these materials are just out there waiting to be used. I’m stoked about these bags – and I can’t wait for my next sewing day to see what secondhand things I’ll create next.


Thrifting Tips and Tricks: Sweaters

It’s no secret, the majority of my materials come from thrifted items. The low prices and wide variety of materials make it possible for me to stock my obsessive craft hobby on a tight budget. I’ve spent a lot of time at thrift stores searching for sweaters: so here are my favorite tips and tricks for how to find quality thrifted sweaters.

  1. Season Matters (mostly). I’ve noticed that more thrift stores I encounter rotate clothes on a seasonal basis. Especially larger chain stores, like Goodwill and St Vincent de Paul, seem to only stock seasonally relevant clothes. I rarely find quality sweaters during the summer months. So I stick to cooler weather months for my sweater thrifting. However, I have found that smaller towns or locally owned thrift stores rarely have the staff to be selective about seasonal clothing – so if you are on the hunt for sweaters in the summertime, I recommend searching in a smaller/locally owned shop.
  2. Check the Tags. Very obvious tip, but checking tags for fiber content is the best way to determine if a sweater is worth it. I try to avoid those acrylic sweaters, but sometimes I’m desperate for a specific color so I’ll compromise by purchasing a fiber with some acrylic or nylon content. While that 100% wool sweater might be the prize find, don’t discount other natural fibers or blends. Some of my favorite projects are made from thrifted cotton and finding a silk or silk blend yarn always feels like finding a secret treasure. I like to keep track of the brands I find with quality materials. That way, if I’m drawn to a sweater and notice the brand is one I’ve unravelled before, its likely to be another quality sweater. This also goes the other way, I keep track of the brands whose sweaters are almost always acrylic and avoid them like the plague. Some of my most unravelled brands are LOFT (and Ann Taylor), J. Jill, and J Crew. I also jump on any Eileen Fisher sweater I can find. The one’s I avoid are typical fast fashion brands like Forever21, H&M, and Old Navy (unless I really want cotton).
  3. Explore your area. You might find that the thrift store closest to home rarely carries quality sweaters, so branch out – check out some shops in different areas. Check the next town over, the suburbs, the city center, the outskirts of town. If I’m on the hunt for a specific project, I like to devote a weekend morning or afternoon to my quest and hit up the various thrift stores in a certain area of the city. If you do take this approach I recommend bringing snacks – it can be a big day. It might be a good idea to keep a running list of shops that tend to carry quality sweaters. Keep a list on your phone or in a notebook, that way if you’re in need for a good sweater and don’t have hours of time, your list can guide you.
  4. Stick to your budget. While I’ve had the occasional failed thrift store run, more often than not I can find numerous sweaters with fibers that would love to knit with. But, even thrift stores sweaters can add up in price and could quickly get out of control. Before you even leave your house, acknowledge what you can spend on materials that day. Setting those limits will prevent you from experiencing sweater regret.

I hope these tips help you on your thrifted sweater adventures. Let me know if you have any favorite tips and tricks when you search for thrifted sweaters in the comments below. And thanks to Mia for suggesting this topic as a blog post. I hope this helps, Mia!

Happy Thrifting!